Seamless Water Softener Installation Process
Water softener systems are essential for improving water quality by reducing mineral content, such as calcium and magnesium. Proper installation ensures optimal performance and longevity, contributing to better appliance operation and reduced scale buildup.
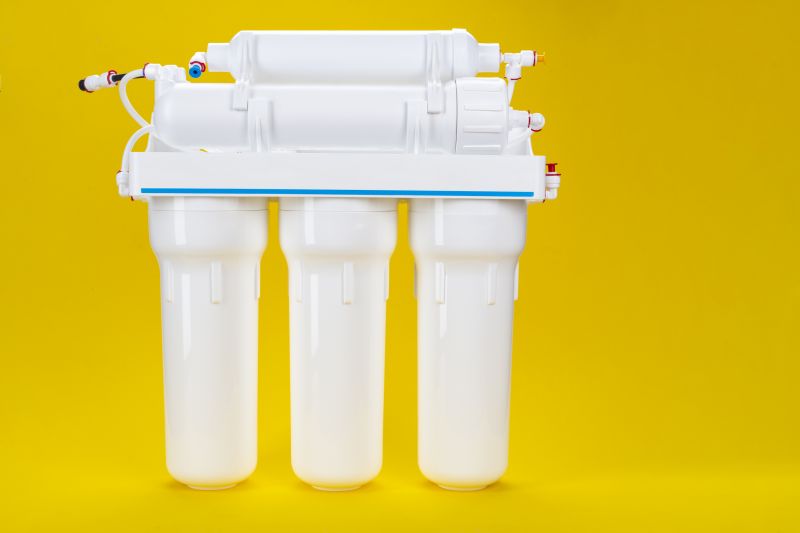
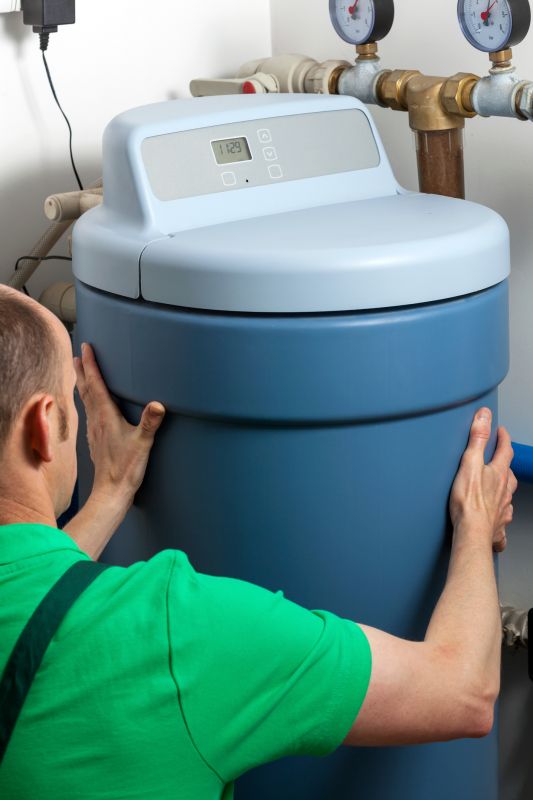
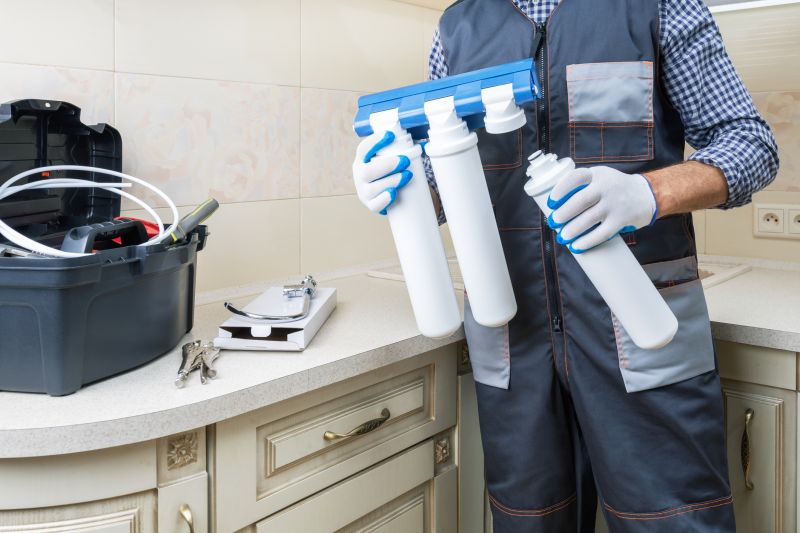
Professional installation of water softening units tailored to residential needs.

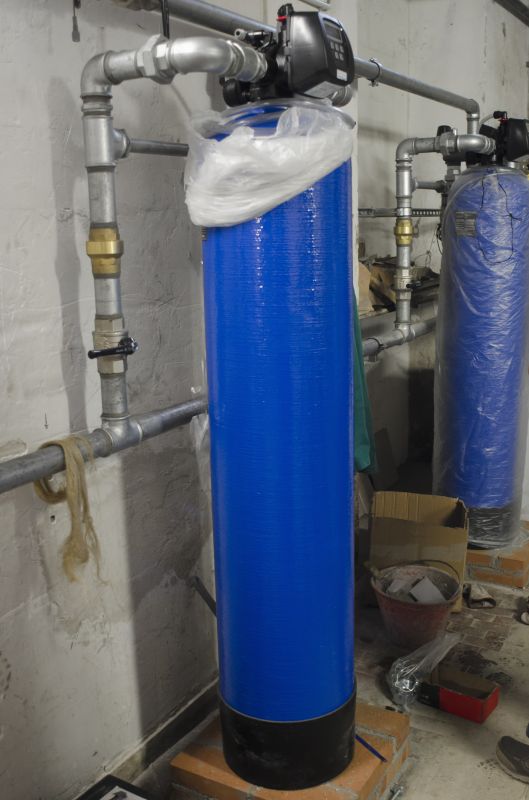
Secure and precise plumbing connections for efficient water flow.

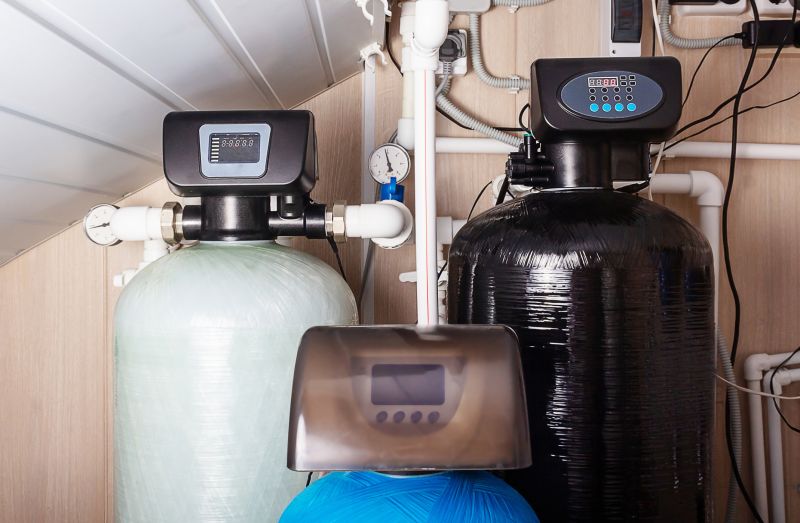
Proper placement of control valves for system management.
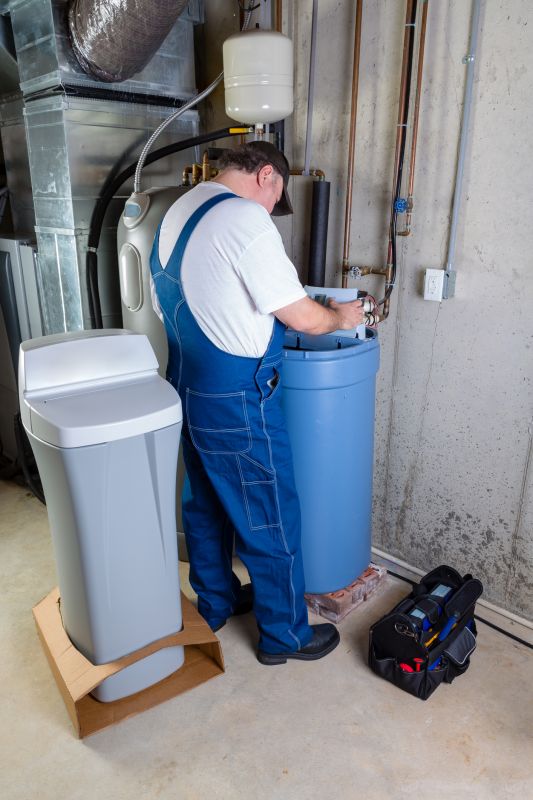
Correct drain line installation to ensure proper waste removal.
Seamless integration of bypass valves for maintenance flexibility.
Safe wiring for system controls and power supply.
Assessment of plumbing and electrical systems before setup.
Verification of system functionality after setup.
Adjustments for optimal performance tailored to water hardness levels.
Initial testing to confirm system effectiveness.
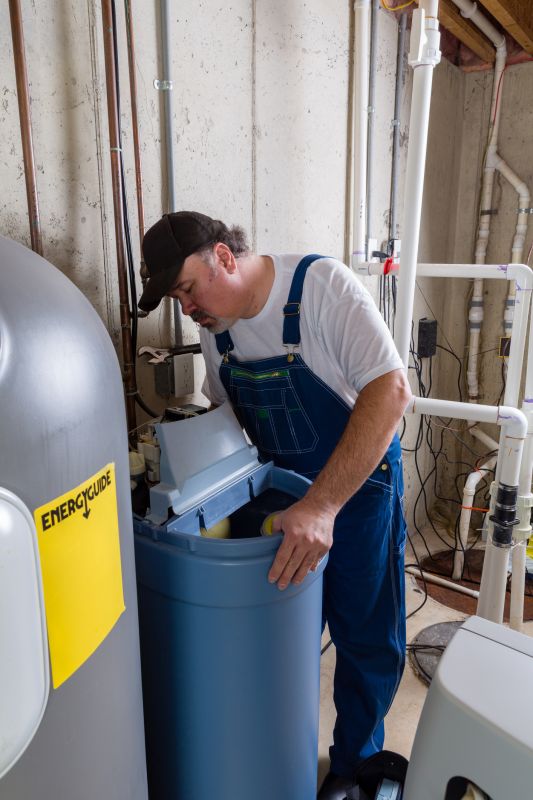
Guidance on system operation and maintenance.
Ensuring all components are correctly installed and functioning.
Statistics indicate that properly installed water softener systems can significantly extend the lifespan of household appliances, reduce energy costs, and improve water quality for daily use. Regular maintenance enhances these benefits and ensures consistent performance.
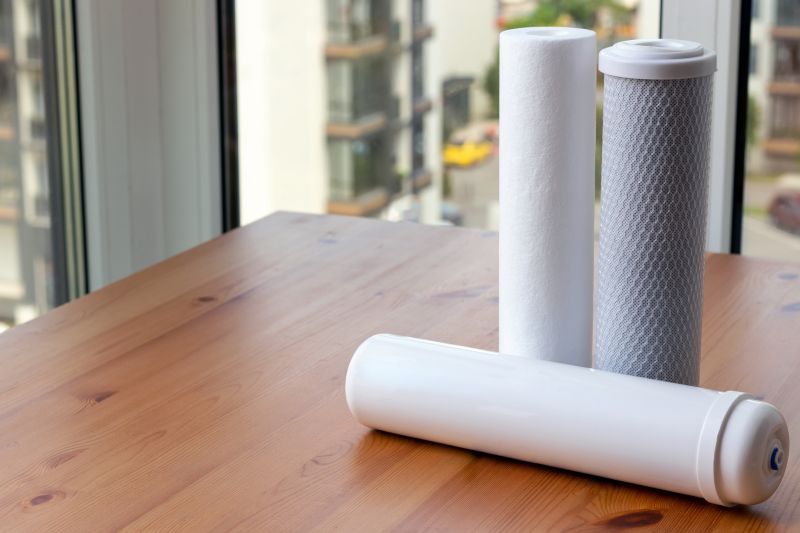
Installing a water softener can reduce scale buildup, improve soap efficiency, and protect plumbing infrastructure.
The process involves site assessment, plumbing adjustments, system setup, and testing to ensure optimal operation.
Professional installation typically takes a few hours, depending on existing plumbing and system complexity.
The installation process is designed to be efficient and minimally disruptive. Experienced technicians ensure all connections are secure, and the system is calibrated for peak performance.
Clear access to plumbing and electrical points is recommended for a smooth setup.
Includes plumbing modifications, system placement, wiring, and initial testing.
Final inspection and system calibration to meet water quality needs.
The entire process is designed to ensure the water softener functions effectively for years to come. Proper installation minimizes future issues and maximizes system benefits.
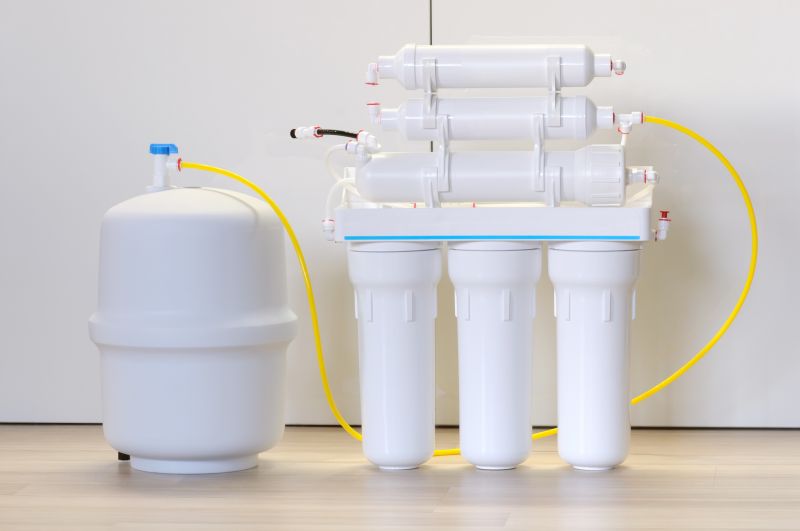
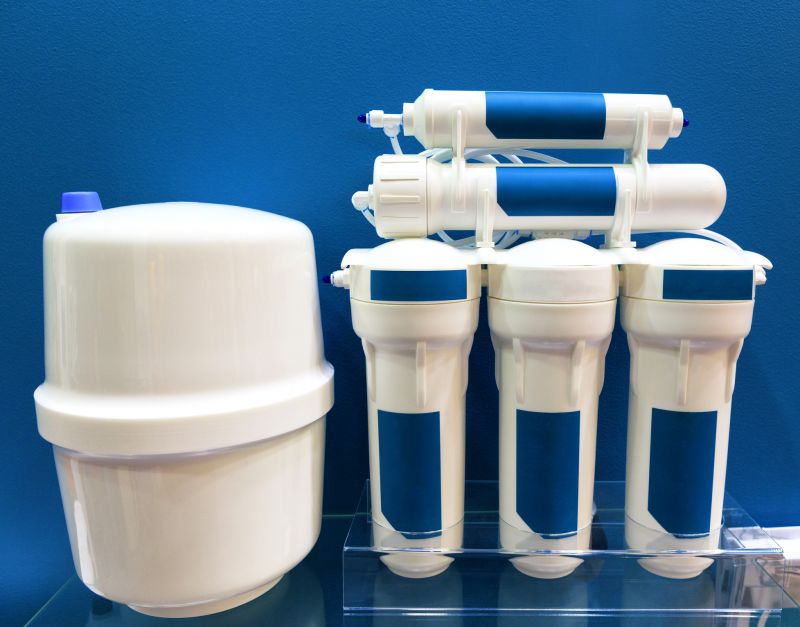
Installed water softening system ready for operation.
Plumbing connections securely integrated into household water lines.
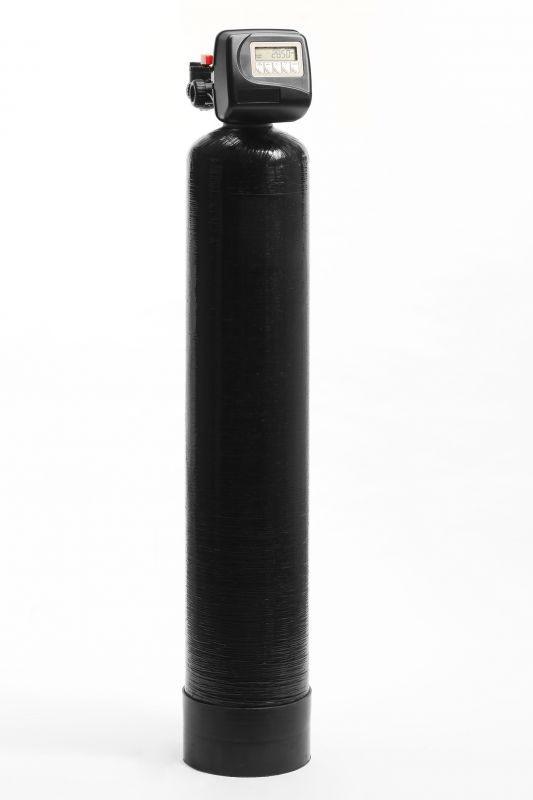
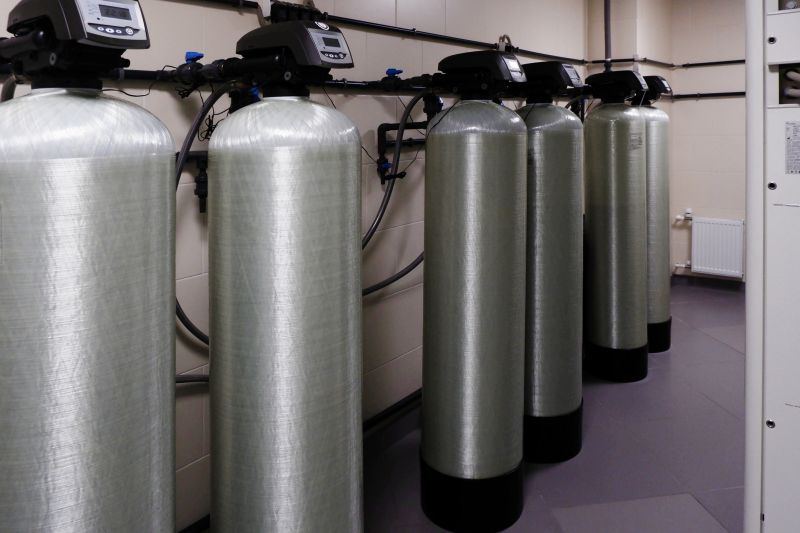
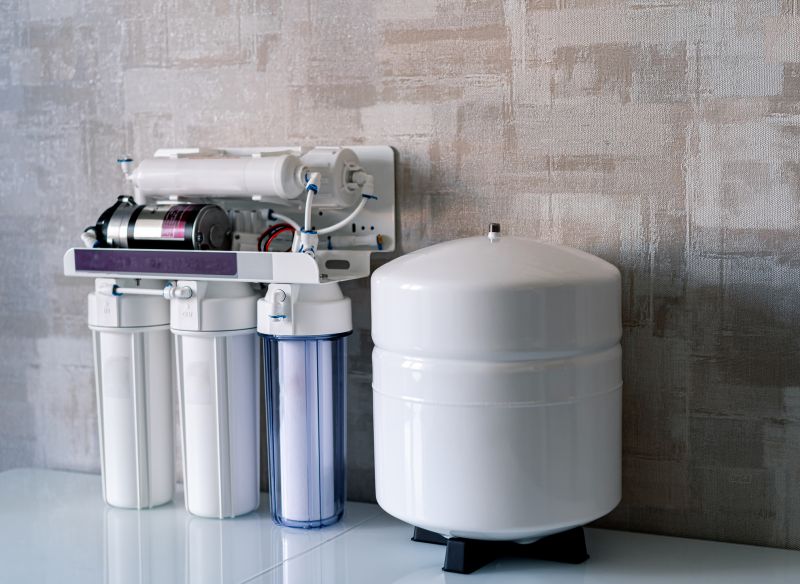
System control panel calibrated for optimal performance.
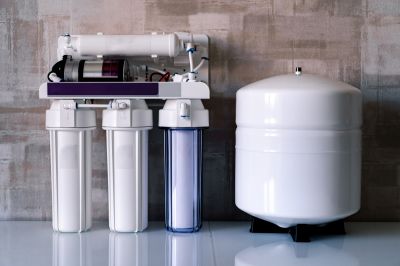
Water softener functioning efficiently after installation.
Interested in improving water quality through professional water softener installation? Fill out the contact form to receive a detailed quote tailored to specific needs.